This tutorial is part of my Creative Concept- A Kid's Space Inspired By a Sock Monkey. Check it out here
.
When I found this rustic/reclaimed coffee table online I was in love! Looking closer I knew this was something I could DIY. I drafted this plan (below) on cad - estimating dimensions using the original picture as my inspiration.

Material List:
3- 1"x6"x8'
1- 1"x6"x4'
1- 1"x4"x8'
(I used cheap boards from LOWE'S I spent $23.68)
wood glue
nails
screws
jigsaw
chop saw- or a form of making straight cuts
I made mine a little smaller than the above plans...Scale it to your needs.
Print the next two images to use as your template for jigsawing the legs.


(These are printed on 2 - 8.5x11 printer paper. Match up and tape together then cut out.)
If you are not comfortable with a jigsaw - find someone who is (husband maybe?) I am vaguely familiar with it because of some of my college design classes. I didn't find it to be that difficult to cut this pattern.
Cut all your 1x6's...
8 - 18" pieces for the legs
4 - 48" pieces - planks for table top
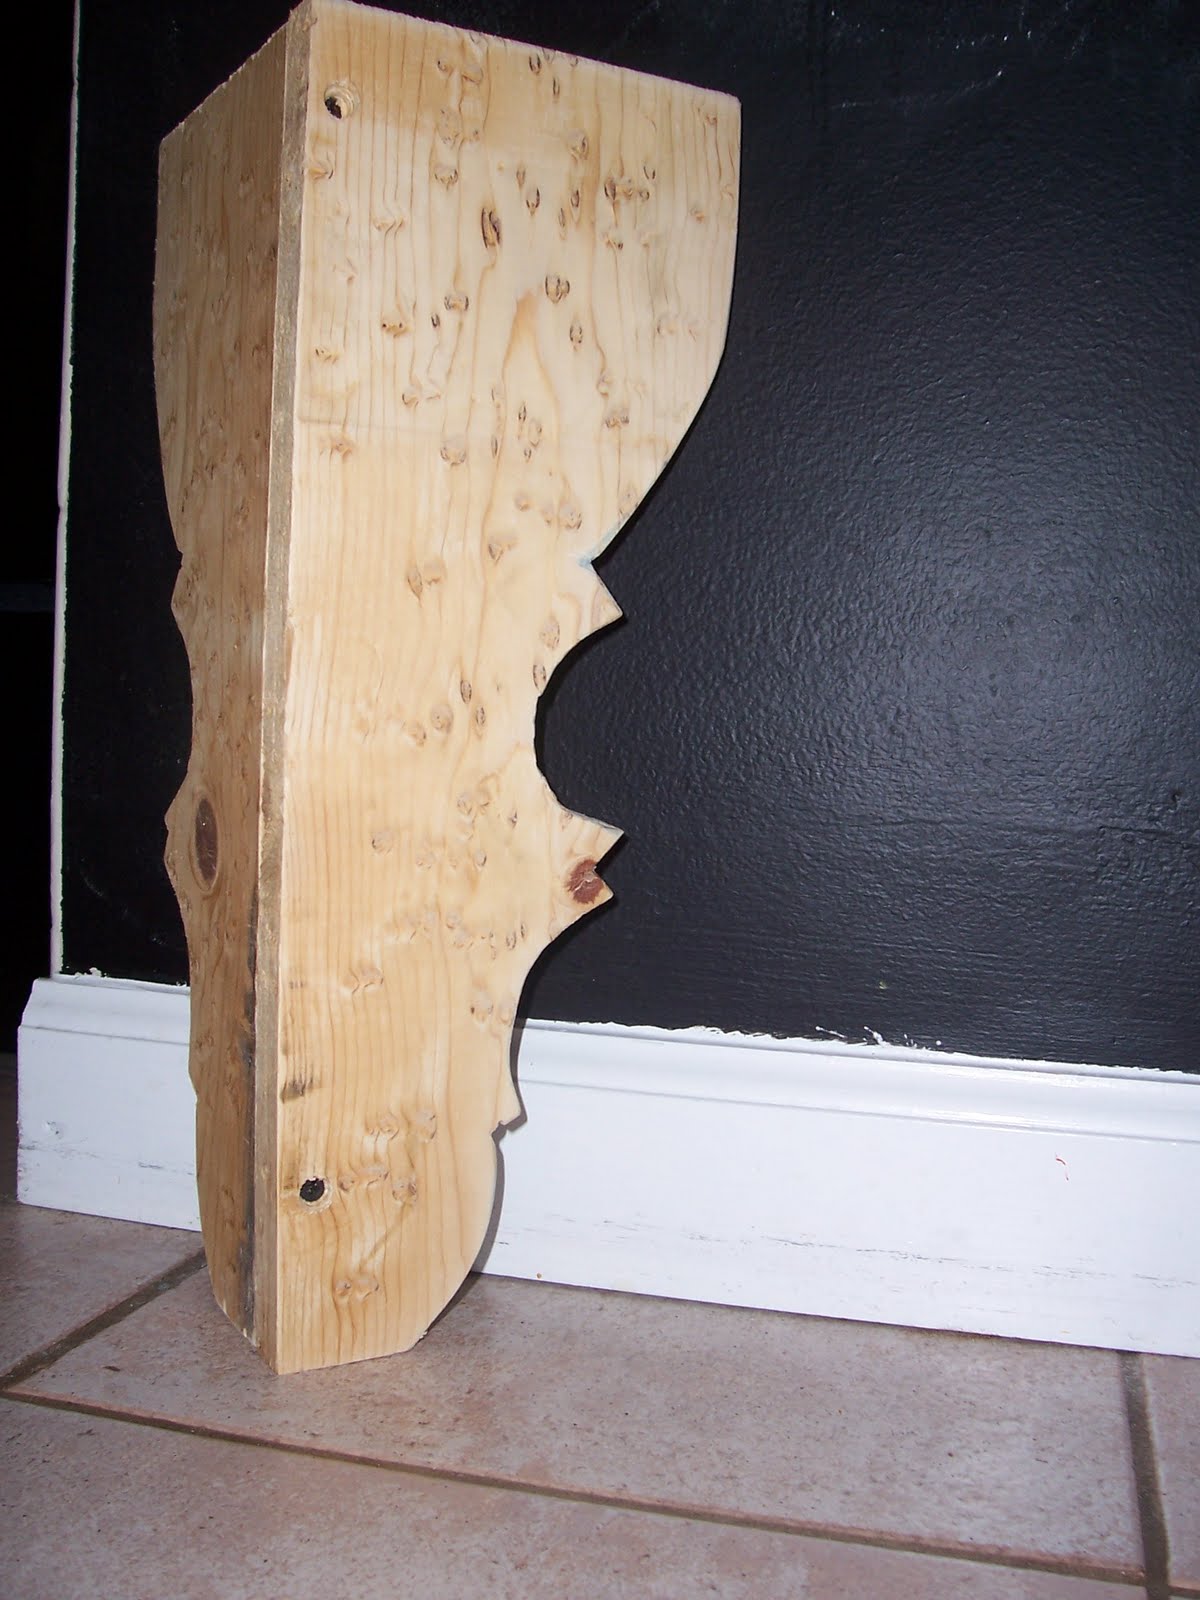
once you have your 8 leg pieces cut trace pattern on to pieces and jigsaw.
you will use 2 patterned pieces to make one leg. Attach using screws. I used a pre-drill counter sink so my screw heads wouldn't show.


Next put the table top together. There are a few different options for this. You can buy a "pre-made" wood slab top (this will be more expensive than using the 4 - 48" 1x6's)
If you use the 4 - 48" 1x6's attach these together - use a jig or biscuit joint. If you can't do either of these (I can't!) create a brace of plywood or a rectangle using 2x2s to nail or screw each board into to create a solid top.
to attach legs flip the table top over and place legs where you want them

I glued the legs on first then nailed them in from above. I usually would say this is not a good way - being as that your nail hole will show on the table top - but I heavily distressed the entire table so they won't be noticed. You could also use L-brackets.
Then I added the "stretchers" these are your 1x4s. I would not cut these until this point. measure between each leg to get your exact measurement.

Attach the same way you attached your legs.
Give the entire table a good sanding.
The finish:You can do this many different ways.....paint, stain, whitewash...etc.
I watered down a brown latex paint and brushed it on, then I distresses (hammering, nailing, basically beat the hell out of it!)

Then I sanded again - removed most of the paint and added a thin coat poly.....
and finished with something that looked like this


I really love it!
I hope this tutorial helps! I had a tech problem with the memory card in my camera and lost most of my pictures :(
I am NOT a furniture builder so my "techniques" are probably pretty unconventional. Please use this tutorial as a guide and make improvements as you go!
Good Luck!

This is wonderful, awesome tutorial as well. Love it!
ReplyDeleteGreat tutorial! Love the template..thanks for posting!
ReplyDeleteVery nice tutorial. Well done.
ReplyDeleteGreat tutorial! I used it to make the base for my ottoman.
ReplyDeleteGreat stephanie! I never thought about using them for an ottoman!
DeleteThis is such an inspiring DIY project!
ReplyDelete